


Your cart is empty!
The Ultimate Bikepacking Checklist
So, you’ve got a bike, you’ve got some mates and you’ve got some spare time. You’ve even got your luggage basics dialled… your trip is drawing closer, have you got everything that you need? What happens if you forget that vital item that is the difference between a chilled night out and going full Bear Grylls on the hillside? Well, over the years, we’ve made just about every mistake possible, forgotten every “essential” and endured them so you don’t have to. Now is the time to pass that knowledge in to you guys.
When it comes to packing, there are a few items that you’ll need in almost any circumstances, no matter how lightweight you wish to travel, how long you are away for, or what the weather is likely to be. We’ve split these into categories, and tried to highlight our thinking behind the process. Nearly everything here is a “must have”, but with so many different variables to consider, you’ll have to use your own intuition.
Use this checklist as you would like, whether that’s a rigid list to tick off, or just some general guidance. Feel free to add your own luxuries, or personal must haves or drop anything that you think is superfluous. Either way, ride safe and have fun.

Pre-Ride Checks
Everything to consider in the day or two before you set off.
- Basic bike maintenance: have you checked your brake pads, have you lubed your chain, have you fixed that annoying squeak from the last ride?
- Weather forecast: is it worth bringing extra layers/looking at contingency options?
- Make sure you know how to put up your tent/tarp. Best learn in the comfort of your garden than in a storm on the side of a mountain

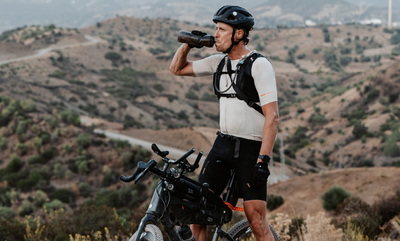
The Rider
Basic riding kit – whatever you feel comfortable in for a long day in the saddle. It will look something like this:
- Bib shorts
- Thin base layer
- Cycling jersey
- Socks
- Riding shoes
- Helmet
- Supplementary riding kit – items to add/remove to deal with changes in conditions. There is a little more flexibility here, but it’s always worth being prepared for the extremes:
- Waterproof jacket
- Windproof Gilet
- Sunglasses
- Packable insulating layer
- Riding cap
- Arm/leg warmers
- Buff
- Gloves
- Waterproof trousers
- Overnight clothing - this will depend a little more on weather and whether you are camping or credit card touring, but warm, dry kit for off the bike is an essential on any trip
- Spare t-shirt - merino is good for staying fresh smelling over multiple days
- Spare pants
- Spare shorts/light trousers if you expect to be wandering around town etc
- Camp sandals are great if you expect to spend much time off the bike
- Spare long johns to sleep in
- Spare dry socks
- Another spare warm layer if conditions warrant
- Woolly hat
- Bonus kit – We would argue that you don’t need any more kit than this for tours of up to a week, or even more. Keep your riding kit for riding and your camp kit dry. You might smell a little by the end, but who cares? If you want a little more luxury you might want to think about bringing:
- Another set of lycra: wash one set and hang it off your bike to dry while you ride in your spares
- Extra clothing: beware of bulk and weight

The Bike
- Everything that you need to keep the bike moving should anything go wrong:
- A multi-tool with all the allen/torx sizes required to tighten/loosen the bolts on your bike. Ideally it will have a spoke key as well
- Chain breaker (often included on more comprehensive multi-tools)
- Quick-links are really useful to quickly repair your chain. Make sure you have the correct one for your chain (based on whether it is 10, 11, 12 speed etc). Special pliers to remove them are also a really handy addition.
- Spare inner tube(s) consider bringing a couple, especially if you don’t run tubeless
- Puncture repair patches (because what happens when you puncture your spare?)
- Tyre lever(s)
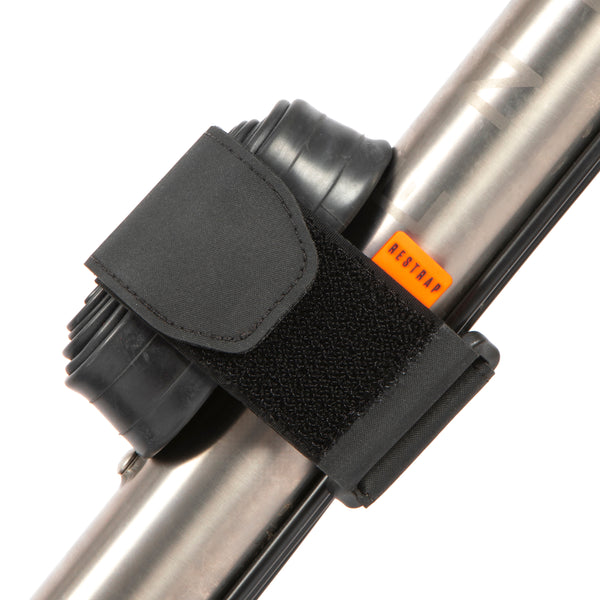
- A decent pump. Now’s not the time for one of those miniscule pumps that moves as much air as an asthmatic mouse. You’ll be thankful for a high volume pump when you need it.
- Tubeless repair plugs. Vital if you use tubeless. A variety of sizes is useful. Be prepared to use more than one in large gashes. A small bottle of sealant is a potentially useful addition too
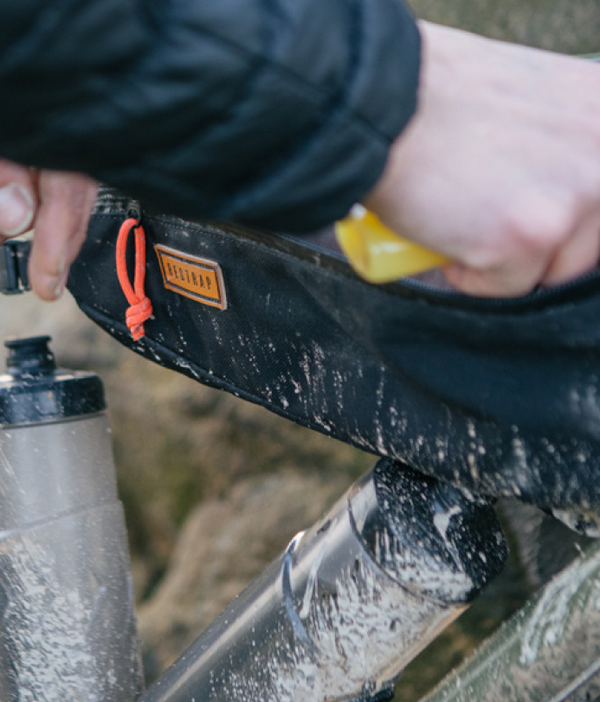
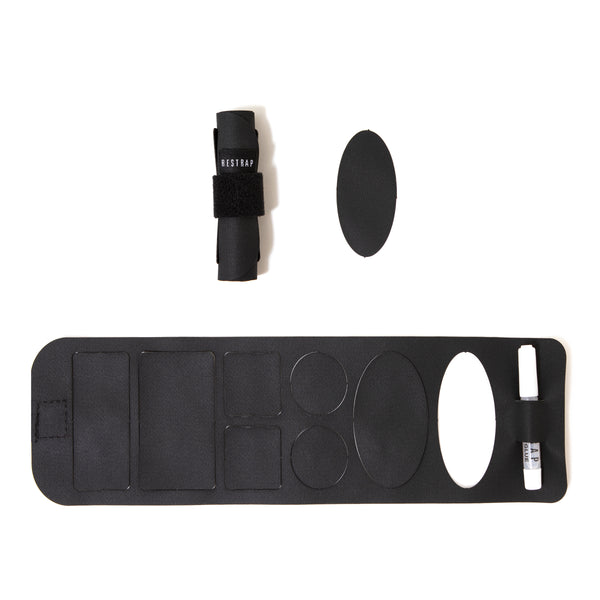
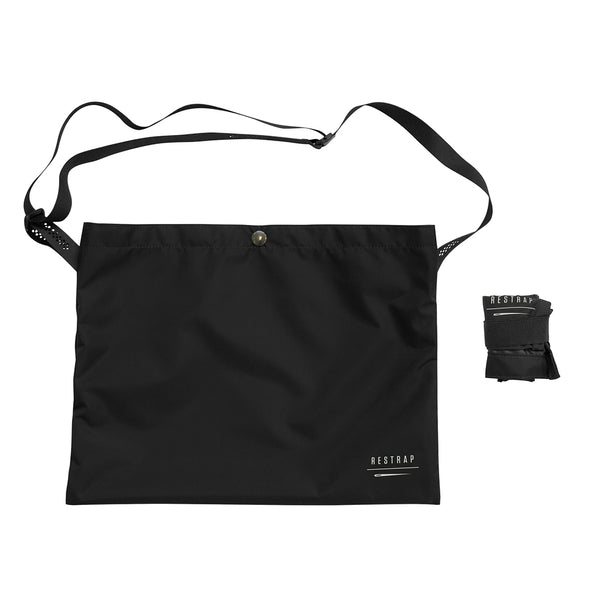
- Restrap tyre boots
- Spare brake pads
- A small bottle of chain lube. These can be bought, or you can decant your preferred lube into a sushi soy-sauce fish. (Use the soy-sauce first and don’t mix the two up, unless you like your sashimi well lubed).
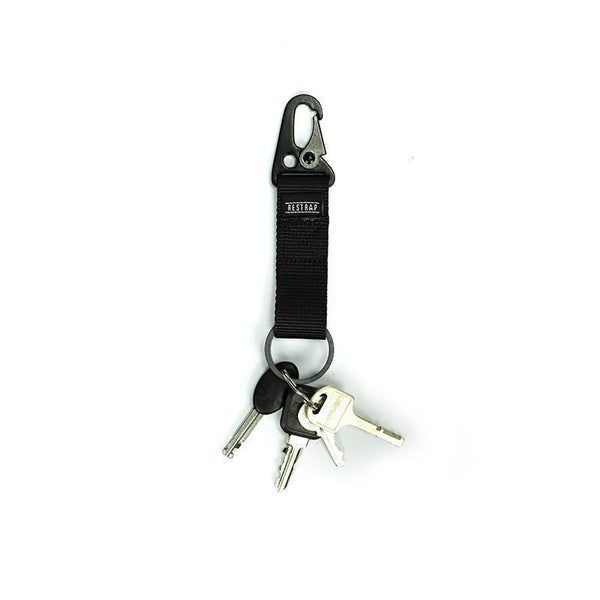
- “Get out of jail free box” - a small tin or pouch with a selection of commonly found (or lost) bolts. Stuff like cleat bolts, seat clamp bolts, spare tubeless valves and valve cores, zip ties, a gear cable all safely stowed away. You might also want to bring a spare spoke or two for your wheel size if you want to go full belt and braces.
- A Leatherman is a useful addition to your standard tools - the knife and pliers are more useful than you might think.
- Wrap some duct tape around your pump. Forget about it until you need it

- Everything else you’ll want to bring on/for the bike
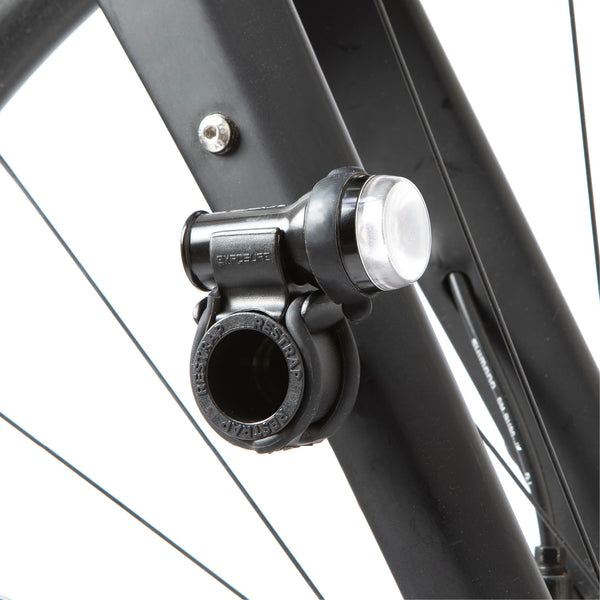
- Lights – even if you are planning on only riding during daylight hours, some “to be seen by” lights are really useful. They may save the day and keep you safe if plans change.
- GPS device – not absolutely essential, but amazingly useful for navigating without having to stop regularly. If you typically use an “out front” mount, check to see if running a bar bag interferes with this. You might need to run a stem mount, or get creative
- Lock – we rarely bring bulky locks when travelling, and try not to let our bikes out of our sight. But, it can be handy to have a small, cheap cable lock to secure your bike when diving into a shop briefly.

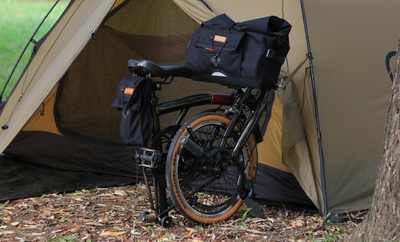
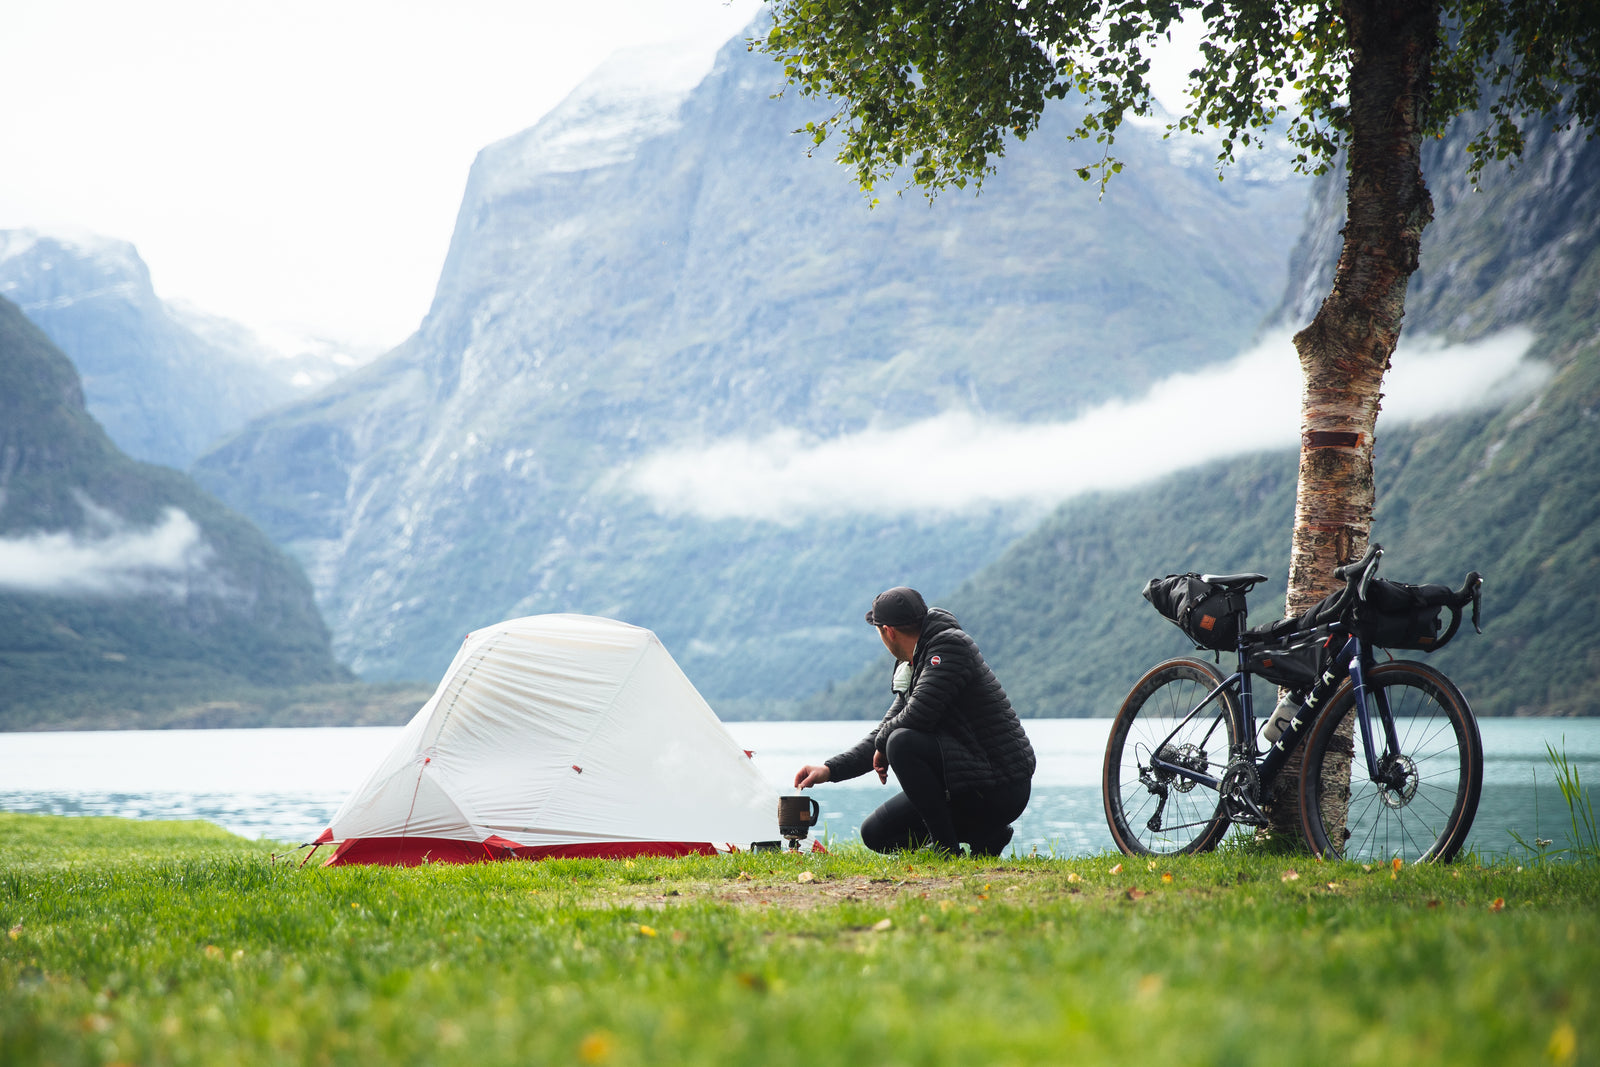
Camp/Overnight
- Essentials for credit card touring. If you are staying in hostels/hotels/B+Bs, you may not need any camp kit, but there’s a couple of items to consider
- Some hostels/refuges in Europe and elsewhere require you to bring a sleeping bag liner.
- Earplugs are a lifesaver in dorms.
- A lot of hostels will require you bring your own towel.

- Essentials for camp life. “Camping” is a huge catch all term – you may choose to bivvy, hammock or opt for a tent. Regardless of shelter, there are plenty of other things to remember
- Shelter: we’ll leave that up to you, but don’t forget to pack it!
- Extra tent pegs and guy lines. Really useful for your tent or tarp in bad conditions
- Sleeping bag: bring one that is warm enough for you and the conditions
- Sleeping mat: equally as important as the bag. A good mat adds lots of comfort and insulation.
- Inflatable pillow: a small luxury. You can always use spare clothes if you really want to travel light, but the minimal extra bulk is worth it for us.

- Cooking – a stove isn’t always essential. Depending on your route, it is perfectly feasible to call in at cafes, pubs and restaurants along the way. For many though, cooking up a meal in the evening and brewing coffee in the morning is part of the camp ritual.
- Stove. There are multiple fuel options, but in brief, a gas stove is quicker and more convenient. Meths stoves can be smaller, but are smelly and messier.
- Fuel and form of lighting your stove. Some gas stoves have a built-in ignition. It’s always worth bringing a spare lighter, just in case.
- Pan – depending on what you plan on cooking, you might get away with a simple fire-safe camp cup to heat water for dehydrated meals. Go titanium if you are a weight weenie, go ceramic if you value your hipster points
- If you intend to get more creative with your cooking, there are plenty of camp cooksets available - beware of how much bulk they add though. Will you really want to cook up a storm after a long day in the saddle? Don’t bother with plates - just eat straight from the pot.
- Small scourer to clean up
- Spork and folding knife – all the utensils you really need

- Camp food – all important – you want something tasty and filling, but also not too heavy and easy to cook
- Dehydrated meals are the easy option. There are plenty of brands that make specific camp meals. All just require the addition of boiling water. Some are better than others, but all taste much better when you are starving. The price for convenience is, er price. They tend to be a bit spenny.
- Our personal favourite “hack” is Ainsley Harriot-style couscous sachets. If you are careful, you can open the top of the pack and add water directly into it, as per the posh meals above. Other supermarket options are instant mash; big up Idahoan for the best flavours. Thin pasta tends to work better than chunky stuff. And fresh pasta is quick to cook, but bulky.
- You can easily pimp your meal with blocks of cheese, cured meat and nuts. Little sachets of salt, pepper and hot sauce all add flavour.
- Get creative with pud, but a bar of chocolate is always a good standby. Even better with some instant hot chocolate, or a hip flask of whisky.
- Keeping on the quick and easy theme, instant porridge is probably the easiest breakfast. Again, it is easy to liven it up by adding whatever you like.
- How much of a coffee snob are you? Instant coffee sachets will give you a hit of caffeine for minimal fuss. But something like the Restrap coffee dripper adds little weight or bulk.

Staying Hydrated
As with any ride, hydration is important. It can be doubly so when bikepacking somewhere remote.
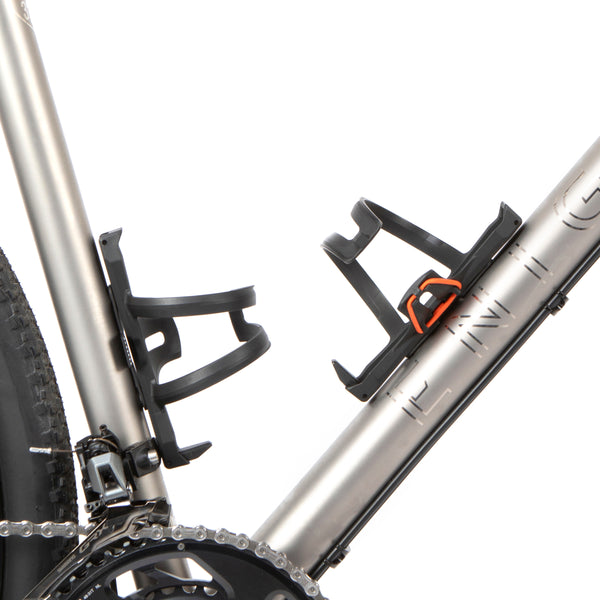
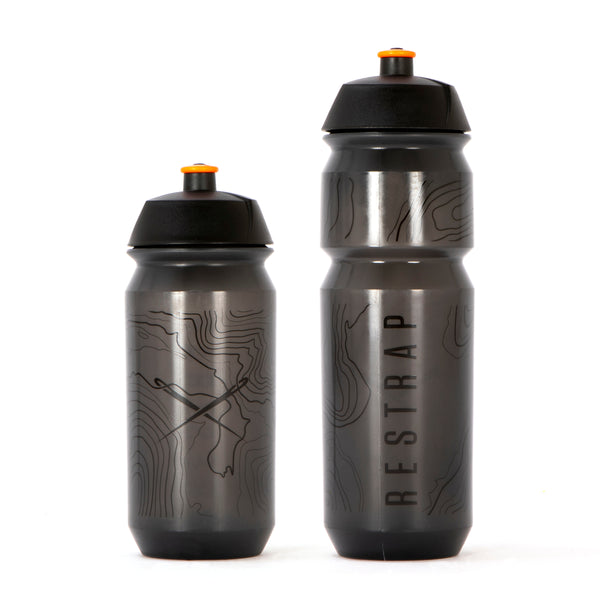
- Capacity for at least a litre of water is a good starting point; the equivalent to a couple of bottles. Depending on how much luggage you have, and the size of your bike might influence where you store that fluid.
- Large frames probably have capacity for water bottles as well as a frame bag. Many frames also have an under-the-down-tube bottle mount as well. You may also have fork bottle mounts.
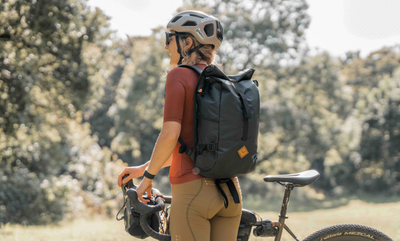
- If that’s not the case, a full frame bag adds storage capacity for a hydration bladder
- You may decide that you need to wear a hydration pack in some circumstances.
- If you are road touring and/or passing through lots of towns, you are unlikely to have any issues finding somewhere to refill your water.
- If you are heading into very remote countey, you might want to bring a water filter.

Personal Kit
All those little items that we can’t do without.
- Toothbrush and toothpaste (feel free to cut down your toothbrush if the grams matter that much). Toothpaste tablets are brilliant for weight/bulk saving.
- Suncream
- Midge repellant/head net
- Contact lenses/spare glasses
- First aid kit – this doesn’t have to be big, but some blister plasters, stretchy bandage and ibuprofen go a long way to help sort all sorts of boo-boos.
- If you are away for a longer duration, some soap and a small travel towel might be worth bringing.

Electronics
Depending on how you look at it, electronics are the bane of the modern world, or a super useful tool that will help you enjoy the outdoors experience. Either way, you’ll probably be bringing some with you.
- Phone – handy for staying in touch with loved ones, but also googling B+Bs when the weather craps out
- GPS device. As mentioned above. Super useful for navigating. Try to keep the route backed up on your phone or even paper maps as a contingency.
- External battery pack – useful for very long days in the saddle that might push the battery length of your navigation device. Also ideal to keep power topped up on shorter trips.
- A headtorch is handy around camp, but not essential
- USB plug adapter. (And continental plug adapter if abroad). Charge your devices in cafes/wherever you can find power
- All the cables needed for charging all of the things. Yup, lightning, Micro USB and USB C and everything else
- A GPS tracker like a SPOT or Garmin InReach is compulsory on some races. It certainly isn’t necessary for an average bikepacking trip, but if you’d like someone at home to know where you are, then they can be a good investment.

Packing
So, you’ve decided what you want to bring. Now all you need to do is load up the bike. We’ve plenty of how-to guidance when it comes to that, but there are a few key points to consider:
- Ease of access – if you think you’ll need something during the day, make sure you don’t bury it at the bottom of your saddlebag for example
- Protect the items you need to keep dry. All Restrap luggage is highly water resistant, but for those items like sleeping bags and spare clothes, and electronics it is wise to seal them in another drybag.
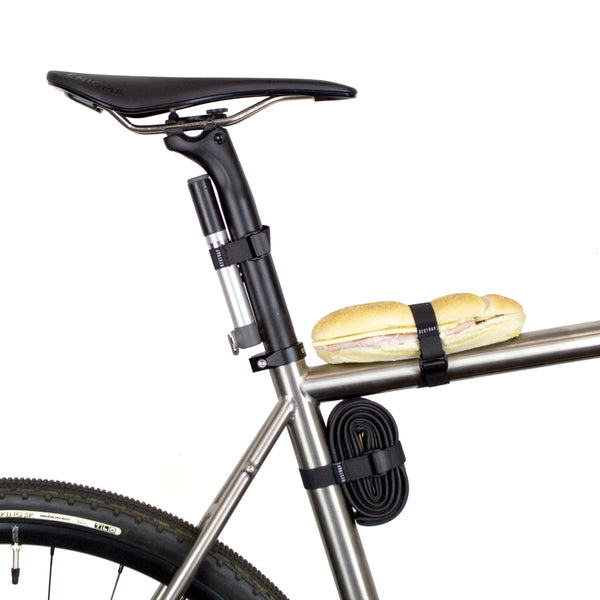
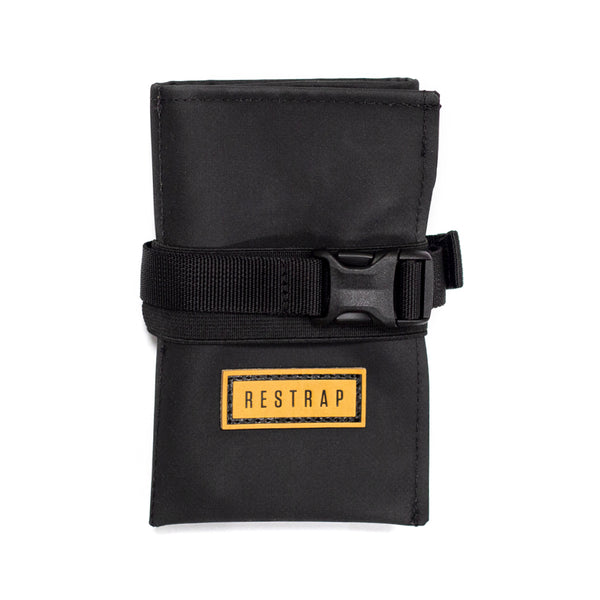
- Try to have a little bit of spare capacity; enough room for extra food, or to shed a layer. You might want to bring a Restrap Race Musette to carry any extra food the last few miles of the day.

Doubling up/Sharing kit
If you are going away with others, a good way to save weight is to double up on some items of kit.
- It’s unlikely that you all need a stove for example.
- And if you use a two-person tent, maybe one can carry the poles and the other the rest of the tent.
- Slightly bulkier tools like pumps can get shared, but remember that if you are at the back of the group and puncture, you’ll be wishing you had your own.
If it helps, you can find a google docs version of this checklist here, which you can print out, or check through yourself.
Checklist put together by Tom Hill (@24tom)
Photos from Cycle Norway (@cyclenorway), Dan King (@dankingphoto_), Rupert Hartley (@ruperthartleyphoto), Pannier CC (@pannier.cc), Skoda Cycling Team (@skodacycling), Aaron Rolph (@aaronrolph), Mike Drummond (@drummondphoto)